This modification is delivered in one executable file, SOF###Setup@@.EXE for installation on your Sage 100 ERP system. Note: The “###” referenced above in the EXE is the version level of the ASI Addition. The “@@” referenced is the current revision number for the ASI Addition.
Installation:
| 1. | Version - Make sure your Sage 100 ERP version matches the version of this ASI Addition. |
| 2. | Backup – Backup your Sage 100 ERP data and programs before proceeding. |
| 3. | Start Install - Exit Sage 100 ERP, then execute the install file, SOF###Setup.EXE, by double clicking or right clicking and selecting Open. You will see a panel similar to the one below.
|

| 4. | Installation – When you select the Next button, the following screen will display allowing you to select the Sage 100 ERP folder where you are installing this modification. This folder should be on your server not on your local drive. |
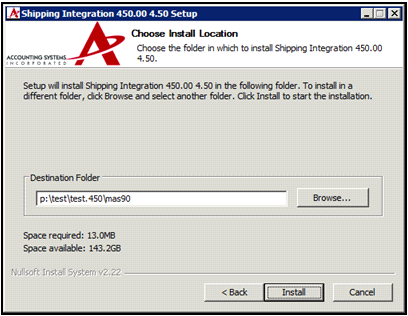
After entering a valid Destination Folder, you’ll be able to select the Install button and proceed with the installation process.
| 5. | Start Sage 100 ERP – Launch Sage 100 ERP. You should see a dialog showing changes being incorporated into the system. |
| 6. | Role Maintenance – Since new options may be added to the menus, you will need to visit Role Maintenance on the Library Master Main menu and give rights to those tasks to the appropriate people. |
| 7. | Customizer Utilities – If you have made Custom Office changes to any of the screens, it is recommended that you run the Customizer utilities to update screens to the current level. |


