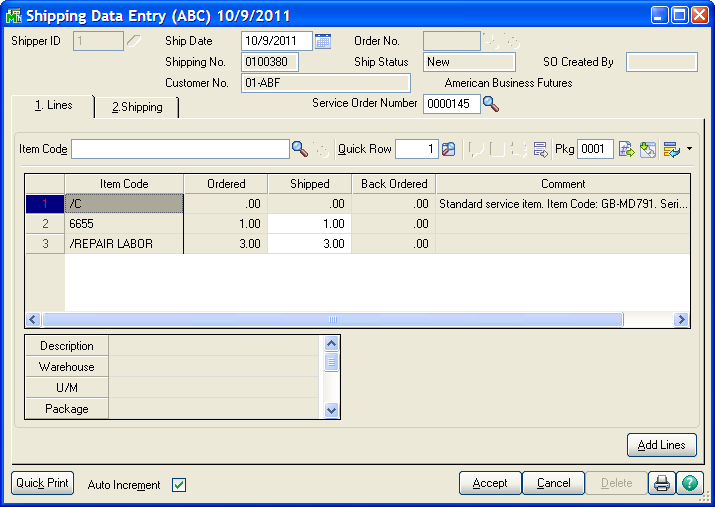
A new field has been added to the Shipping Data Entry header. Rather than entering a sales order number to ship, you can enter a Service Order Number. You can also use the lookup button or F2 to show a list of service orders.
Note - In order for a service order to be shipped at least one of the service item entries must have a status that indicates it is ready to update and create an invoice. For more information about status codes take a look at Service Order Status Maintenance.
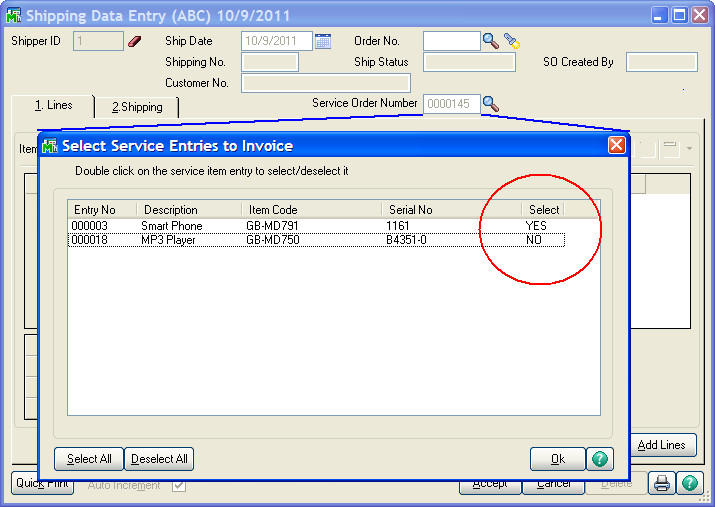
Once you enter or select a service order, the program will show a list of service item entries on that order that are complete and ready to invoice. Since Shipping Data Entry cannot create credit memos, only Standard and Refurbish service types will show on this selection panel.

You must select which of the service item entries you wish to invoice. Double click on a row to change the Select column to YES or NO. The Select All button on the lower left will automatically set them all to YES while the Deselect All button will set all the rows to NO.
Once you have selected all the service item entries you wish to ship, click OK and all the associated lines from the service order will be copied to the shipping record. Note that there is a comment line at the top that represents the actual service item.

Once the lines are copied to the shipping record, you can proceed as you normally would to ship the items.
Add Lines - If you have copied in one service item and then decide that you can ship a second or more service items, click the Add Lines button and select additional service items entries just the way you did before.
Cancel or Delete - If you cancel a shipment record before it is saved, or if you delete an existing shipper that came from a service order, the service order status is changed to the Status To Use if Invoice Deleted from the Service Center Option Main panel.