|
Import Shipping Information |
  
|
|
Import Shipping Information |
|
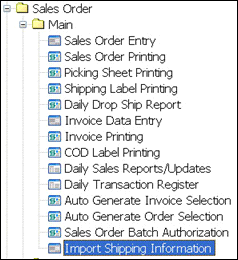
There are two ways to import shipping records into Sage 100 ERP invoices. You can import for one invoice at a time using Shipping Data Entry. If you wish to match shipping records to all the invoices in process at the same time, use the Import Shipping Information menu option shown below.
If this is the first time you have run Import Shipping Information, it will immediately prompt for configuration, which is covered in Import Shipping Configuration. If you have already set up the import configuration, you will see the screen below. You can also get to the configuration screen by clicking the Setup button on the Import Shipping Information screen.
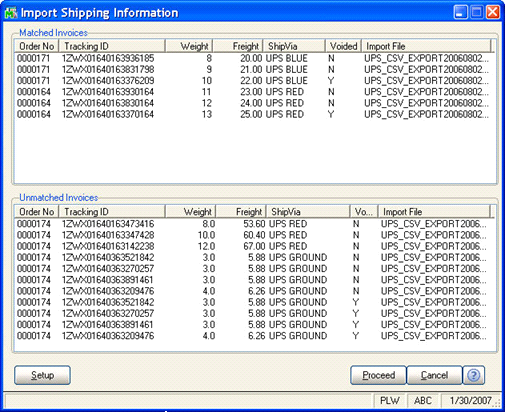
Once the configuration is done, the program will search for records from the shipping files that match invoices or shipments in the Sage 100 ERP system. The top list shows those records that match while the bottom list shows those that do not match. It is possible that some records will not match because the sales order has not been shipped yet. It is also possible that the order number is not valid.
The far right column shows the import file the records were pulled from. In some cases you might see the file name UNMATCHED. These are records that were previously read but could not be matched to a current invoice. In those cases, the unmatched records are copied into an UNMATCHED file and can be matched later.
Setup – You can press the Setup button to get back to the defaults screen described earlier.
Proceed – Press the Proceed button to update the invoices shown in the top list with the data found in the import files. Once the Proceed is pressed, the program will update the tracking numbers, freight, weight and any other fields on the invoice that you have configured (see Import Shipping Configuration).